
RENDERING
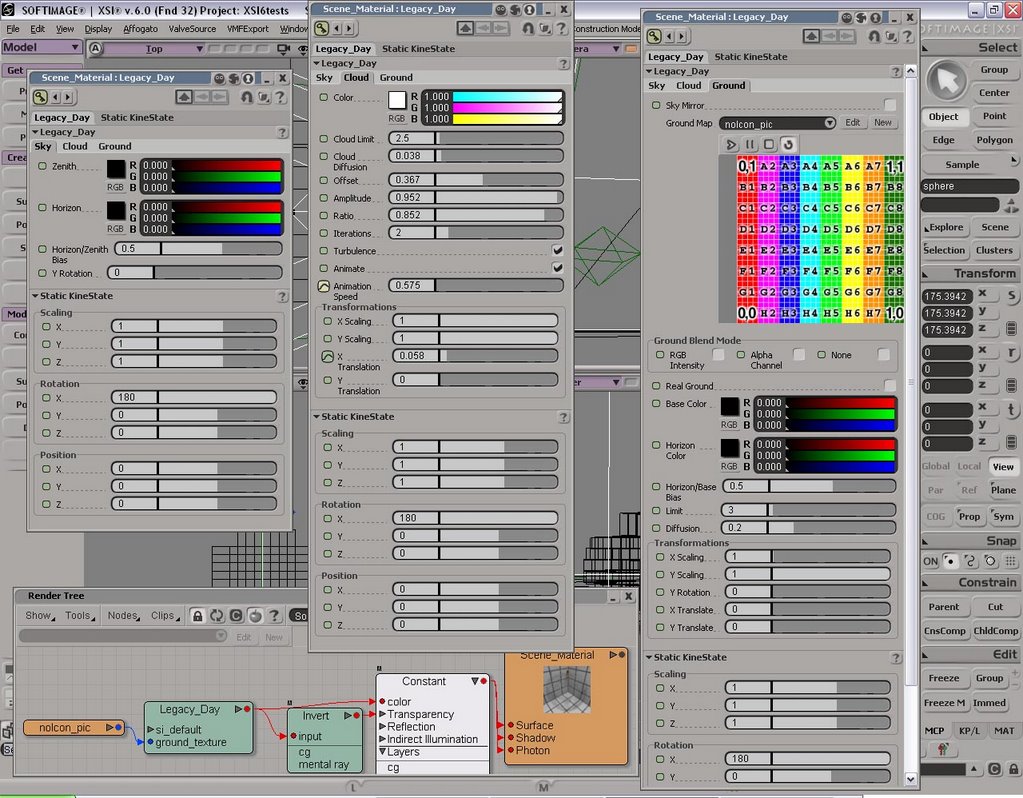
XSI version 6 is finally with us and it's a dream to use. The changes to the rendering set up are brilliant and although many of the changes seem like small things, they really help a lot with workflow. It is now much easier to work with procedural textures and shader networks as they can be previewed in the nodes and you can follow the transformations from one node to the next, all the way to the final result. I've wanted this for ages!
The new Render manager and Material Managers are infinitely faster than previous versions and can now be considered a genuine replacement for opening up explorer and the render tree in seperate windows.
FG has now changed drastically and gives an almost instant indirect illumination render of any scene by just turning it on - well, almost...
Setting up render channels isn't something I use right now, but it will be. It seems like it will be possible to render every single object in a view seperately, and then comp it all together. The offshoot of this will be altering a material could be done by rendering a small number of the overall buffers rather than the entire scene again.
MR & the render region is faster at rendering, can be done in multiple viewports simultaneously, you can render different render channels, and you can use a slider to compare between two different shader settings and revert to the preferred settings.
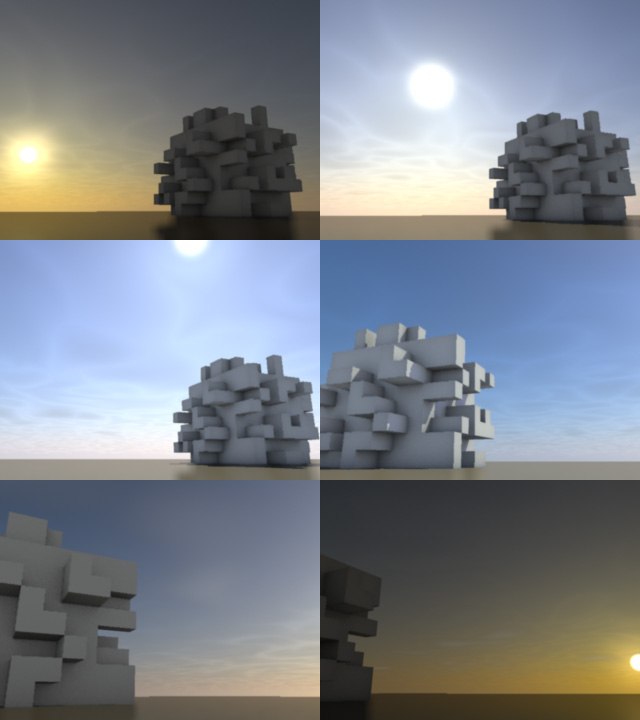
Now for some info on the pics:
These are from a quick animation I made using the new Physical Sky environment shader, new physical sun light shader, the new MR Architectural material shaders, ctrl_occlusion for sampling the environment colour for the "sculpture" - faster than using FG, the legacy day shader was mapped onto a sphere and made transparent to create an overlay of clouds, to add a little more interest to the sky. Finally, I used the simple tone mapping lens shader to balance the lighting out across the image.
Finally, expect a new version of the Sunpath plugin that works nicely with Physical sky and sun, sometime in the new year.
