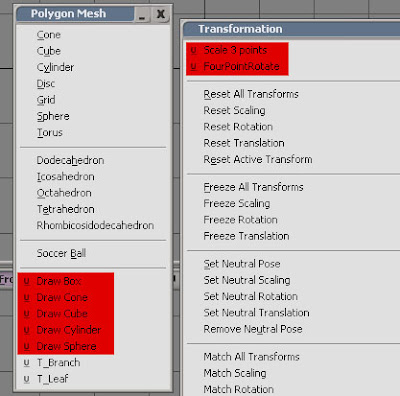
Click on this thumbnail to see 4 point rotate in action.

EDIT: (link updated. - download and replace file from .txt to .xsiddon) here.

ARCHITECTURAL VISUALISER | TEXTURE ARTIST & 3D MODELLER for
BLACK MESA - A HL2 MODIFICATION | SOFTIMAGE , OCTANE RENDER, SHIVA 3D, REAPER.FM & SKETCHUP USER | HALFLIFE2 & ARMA2 MODDER | CMIVFX AFFILIATE | ANDROID / MOBILE DEVELOPER


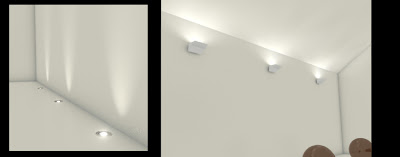
To get a hold on how to use the plugin do the following:-
1. Firstly: find a light fitting that you know about, it helps to have
photographs of it installed and working. I chose some uplighters from Erco;
(Erco are good because provide both 3d meshes and IES data for all their
products as well as comprehensive brochures.)
2. Then: Get > Primitive > Geoshader and add the plugin to the
Geoshader.
3. Import the appropriate IES data into the IES filename section.
4. Create a point light. Important: Reduce the intensity of the point light
you are going to use as an IES to 0 or you will not get a correct result - you'll end up getting light from the pointlight as well as the IES shader (which is extra bad if you are using GI or/and FG.)
5. In the light part of the plugins ppg attach the new point light.
6. Now do a test render of the light positioned near a surface and go
forward from there.7. Important: DON'T rotate the point light. After all, there is no logical reason to. IES data for an uplighter will automatically cast light upwards, a downlighter will always cast light downwards. Just placing the pointlight above or below a specific light (depending on the type) is all you need to do.

(It) will do for particles, custom ops, and tools, etc what the render tree has done for custom look development. That is, open it up to many more people and increase the rate of development.Basically, it seems as if you will be able to add your own complex features based around existing operations perhaps without any coding experience.

 Both images can be found at my portfolio at CGTalk - http://jasonio.cgsociety.org/gallery/

T-Gen is the first tree and plant generator plugin fully integrated into XSI architecture. Over 100 appearance and distribution parameters, full utilization of XSI curves and node-based hierarchy ensures great flexibility and huge possibilities while creating your own trees and plants. You can use almost all XSI tools to additionally edit materials, geometry, hierarchy of all T-Gen objects. With powerful optimization tools you can create low-poly trees and plants for your games. Almost all parameters of T-Gen are animatable, so you can create animations of growing trees and plants.

 Here is a short script for automating the UV-mapping and rendermapping of any polymesh objects you have selected. Change the parts highlighted in red if you want better resolution textures to be generated (eg:512 to 1024). You can also add further rendermap options here like to render illumination only. The line in green is where the UVs are applied. This can be amended to suit various situations.
'Make a rendermap on every selected object in scene
'completed between 10 & 11-06-07
'By Jason Wells aka Redmotion
dim name, imfile, oClip
set list = GetValue( "SelectionList" )
if list.count = 0 then
MsgBox "Please select at least one polymesh object first!!"
else
'start rendermap make routine - depending on scene size and object complexity this could take a while... :)
for each item in list
logmessage item.name
name = item.name
if item.type = "polymsh" then
SelectObj name, , True
'set up unique UVs with name starting with RM_
oUVs = GenerateUniqueUVs (, "RM_" & name)
AddProp "RenderMap"
SetValue name & ".RenderMap.imagefilepath", "Render_Pictures\RM_" & name & ".pic"
SetInstanceDataValue , name & ".RenderMap.uvprop", "RM_" & name
SetValue name & ".polymsh.cls.Texture_Coordinates_AUTO.RM_"& name &".PolyPackUV.targresv", 512
SetValue name & ".polymsh.cls.Texture_Coordinates_AUTO.RM_"& name &".PolyPackUV.targresu", 512
SetValue name & ".RenderMap.resolutionx", "512"
SetValue name & ".RenderMap.squaretex", True
logmessage "RENDERMAP generation starts for: " & item.name & " - please wait"
RegenerateMaps name & ".RenderMap"
logmessage "RENDERMAP generation complete!"
end if
next
'change the shaders for selected objects to constants and add RM_image
for each item in list
name = item.name
if item.type = "polymsh" then
SelectObj name, , True
'bring in all rendermap clips
imfile = "Render_Pictures\RM_" & name & ".pic"
oClip = "Clips.RM_" & name & "_pic"
ApplyShader "Material\Constant", , , , siLetLocalMaterialsOverlap
CopyPaste , imfile, "TransientObjectContainer", 1
SIConnectShaderToCnxPoint oClip, ".material.Constant.color", False
SetInstanceDataValue , ".material.Constant.Image.tspace_id", "RM_" & name
end if
next
DeselectAll
end if
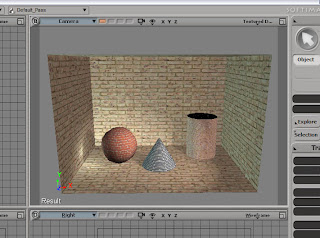
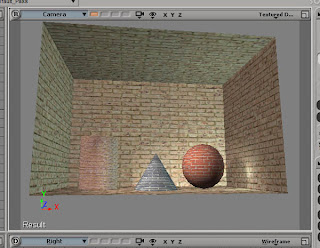

 This is a quick post of an arch-viz test render using Softimage XSI v6.01 and mental ray 3.5. It features hi-res textures from Arroway, the mental ray Architectural materials, zbump, physical sky and physical sun shaders and the new FG mode, multiframe (30 rays, 50 points, 0 max radius). Render time was around 20 mins with a image size of 1000x675. Some of the shadows still remain blotchy in places at these low FG settings, but it is a huge leap forward from the previous version (3.4) in terms of set up time. A little bit of post-processing was done in photoshop.